Draw a Circle Adobe Illustrator
Preview
Pace 1: Create a New Illustrator Certificate
First we are going to create a new Illustrator document, and this can really be any size you want information technology to be; but for at present permit's make our artboard a iv×4-inch square. Y'all can make it either a print or a web document depending on how you desire to use the terminate product. 
Footstep two: Draw a Big Circle
Kickoff, we are going to press the L key, which is the shortcut to the Ellipse Tool. Later that, make certain that you have a solid black Fill with no Stroke (you can set these options at the bottom of the Tools Console, circled in reddish). While holding downwardly the Shift key to ensure that our shape remains in proportion, click and elevate to create a circumvolve that spans almost the entire dimensions of the artboard.
Of course, since we are in Illustrator and since we are working with vectors, we tin rescale the design to go far larger or smaller afterwards on without loss of quality and resolution. 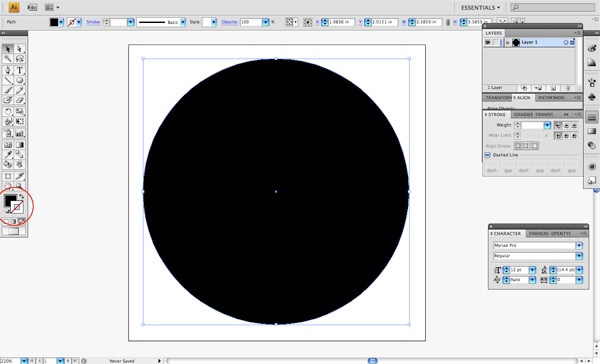
Step iii: Create a Indistinguishable and Scale Down
Select the large black circle we have just made and press Cmd/Ctrl + C to copy and then immediately press Cmd/Ctrl + F, which is the shortcut for Edit > Paste in Forepart. Change the Fill up color of this shape to solid white, and again, without whatsoever Stroke color so that we tin meet the difference between the two shapes accurately. 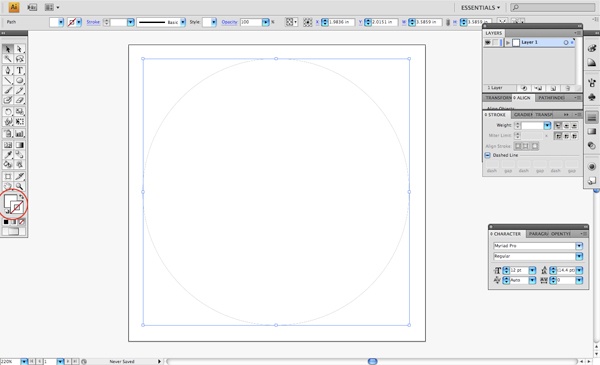 Now the white circle should be completely covering the blackness circle since it's exactly on top of the shape and is exactly the same size.
We now desire to hold downward both the Shift + Pick/Alt keys and so select i of the 4 corners of our white circle. While still belongings the keys down, click and elevate in so that nosotros are now reducing the white circle from the center. Commonly, if we were just holding down Shift, it would maintain the proportion of the shape only information technology would calibration down from the corner rather than the centre.
This is a chip of a time-saver, every bit we don't have to effort to middle the shapes ourselves. 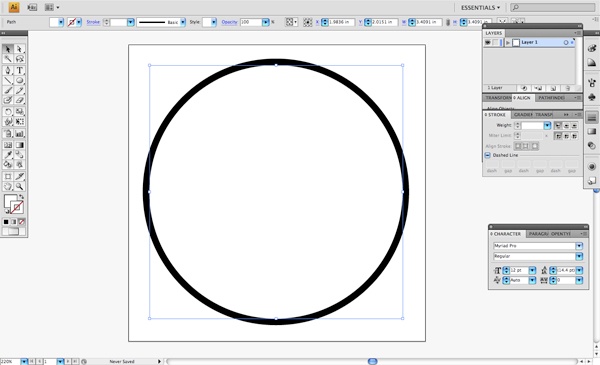
Step 4: Using Pathfinder
Brand sure that the Pathfinder Panel is open (go to Window > Pathfinder or press Shift + Cmd/Ctrl + F9). Adjacent, with the Choice Tool (Five), select both circles. While we notwithstanding take both of our shapes selected, we want to click on the Minus Front command (circled in cherry-red) while holding downwards Cmd/Ctrl (so that the shape becomes a compound shape).
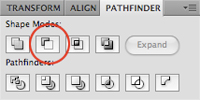 After clicking on Minus Front, you lot will detect that you have now knocked the white shape out of the blackness circle, substantially subtracting this area from the bigger circle in its background. This is the bones idea backside what we are trying to achieve and we will be using this method quite a bit in order to create some unique shapes.
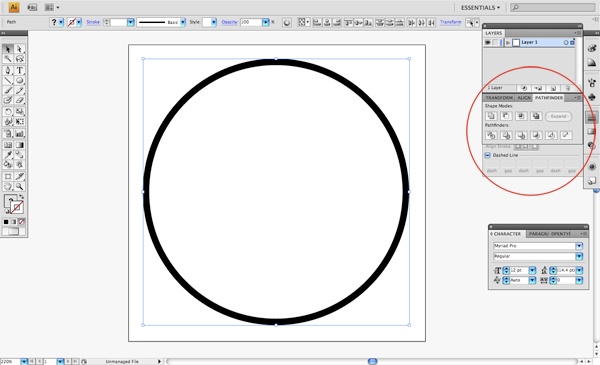
Step 5: Repeat
Once again, select the Ellipse Tool (Fifty) and create a slightly larger circle that is filled with solid black. 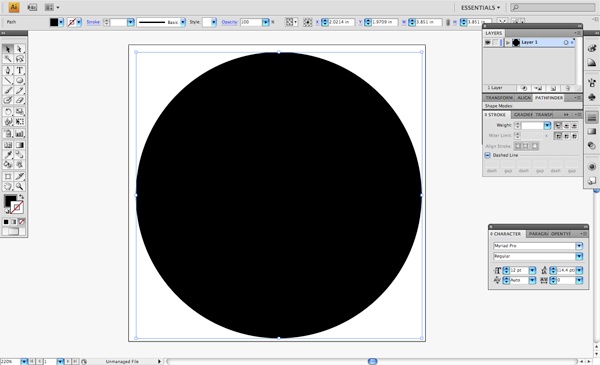 Using the same process we used before, we will again copy the shape by pressing Cmd/Ctrl + C followed by Cmd/Ctrl + F to paste to copied shape in front. Select ane of the corners of the circumvolve in front and concord down Shift + Option/Alt while dragging in to reduce the shape proportionally from the heart.
Reduce this one further to create a thicker black outline. 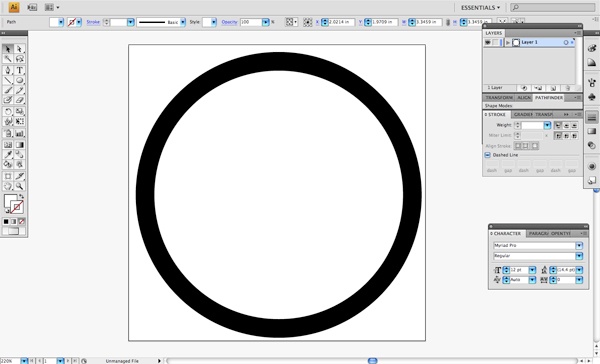 Select both of these shapes and use the Minus Front command while holding downwardly Cmd/Ctrl from the Pathfinder to decrease the white circle from the larger black circle.
Pace six: Calculation More Complexity
This step is basically what we have done in the earlier steps, but now we are going to add a bit more complication and then that we can create a slightly different shape. Change from the Ellipse Tool to the Rectangle Tool (M) and create a vertical black rectangle that goes through the diameter of the newly created black shape. The size doesn't take to be perfect, but but brand sure that each end extends exterior of the circle.
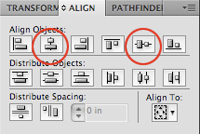
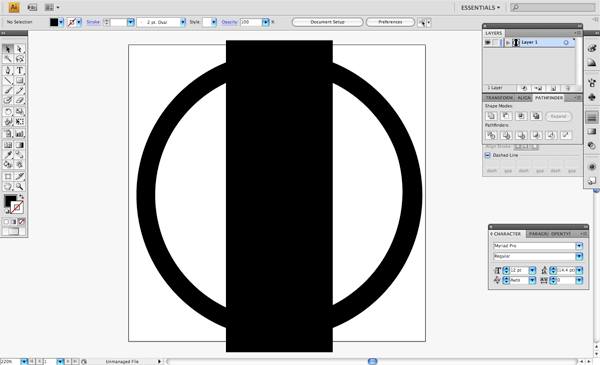 With the rectangle and the circular shape selected, we desire to make sure that our two objects are centered. We will use the Align Console for this (open up information technology up by going to Window > Align or pressing Shift + F7). This volition bring up the panel that volition requite u.s.a. several options for the alignment of objects, but the ones we are most concerned with are the Eye Vertically and Center Horizontally commands.
 Now that nosotros have done our perfect alignment and accept ensured that our shapes are centered, press the Minus Forepart command in the Pathfinder Panel while holding down Ctrl/Cmd. This will essentially subtract the rectangular shape from the round shape — which is exactly what we want. You should now be able to see the thinner circle shape that nosotros created below the gaps in the new shape.
You may take to tweak it a bit so that the first shape intersects through the center of the larger shape, only this can be washed very hands now that nosotros know how to rescale objects from the heart and align them.
Step 7: Combining Shapes
One time our ii shapes are lined upwards and everything is looking proficient, render to the Pathfinder Panel and press the Unite command (the starting time icon in the top row), which volition combine these two shapes, rather than subtract one from the other. Using these same techniques, we tin can add together more variation by placing different shapes — or combinations of shapes — on peak of one another and either subtracting or uniting them. This is the foundation of our technique.

Step viii: Adding A Stroke
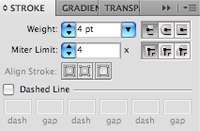
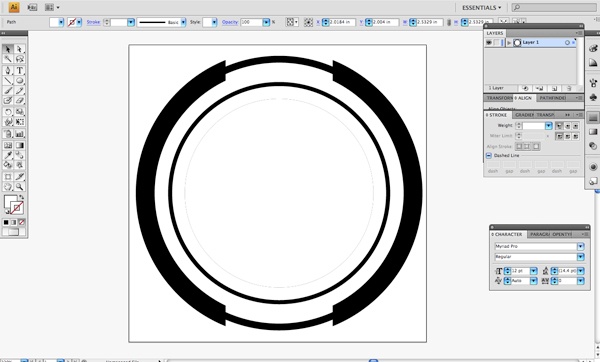
Next, we are going to select a solid black outline with no Fill color. Click on the Stroke at the bottom of the Tools Panel (or press X). In the Stroke Panel (Window > Stroke or press Cmd/Ctrl + F10 to evidence the panel), we desire to ready the Stroke's Weight to 4 pt with a Miter Limit of 4 every bit well.
 Hold down the Shift key while making a large outline within our other shapes. In one case you accept done this, select both shapes that we currently have in our document and marshal them once again to make sure everything is centered.
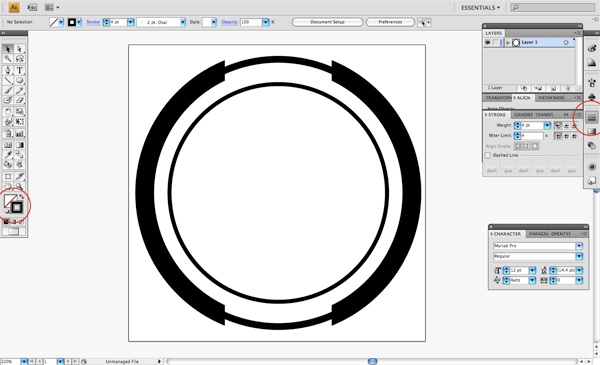
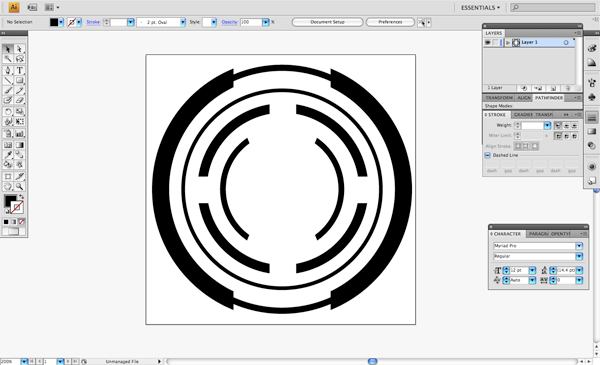
Pace 9: Keep Information technology Going
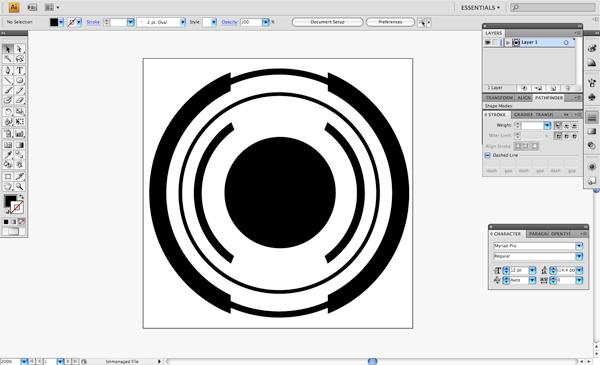
Change dorsum to the Ellipse Tool (Fifty) and create another circle within of the other shapes. Make sure that you lot have a solid blackness fill up with no outline and that yous are holding down Shift to constrain the proportions before cartoon out the circle. 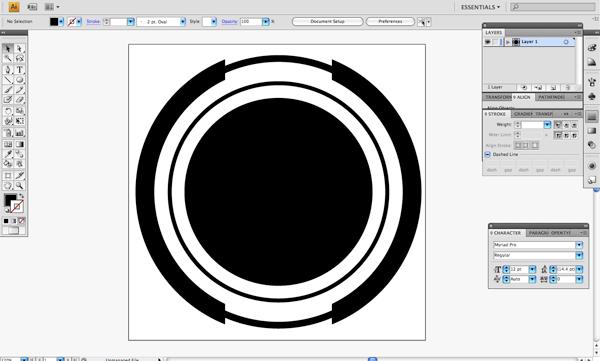 Copy this shape and fill it with solid white before pasting it in front using the Cmd/Ctrl + F shortcut we have been using then far.
 Hold down Shift + Alt and elevate one of the corners inwards to create a slightly thicker black outline. Select both of the shapes and render to the Pathfinder Panel where we want to use the Minus Front end control once again. (step09_reduce_and_subtract.jpg)
Step 10: Ten's and O'due south
Switch to the Rectangle Tool (M) and create a tall, thin rectangle. Rotate it slightly. 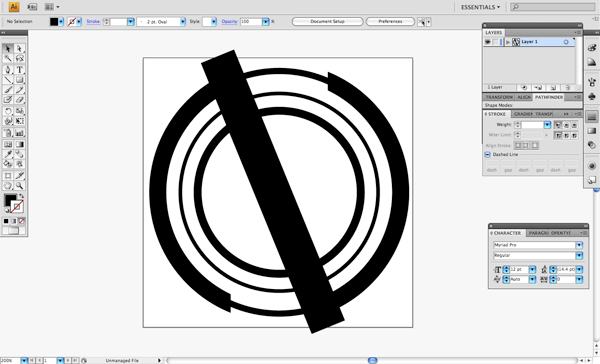 Copy this rectangle (Cmd/Ctrl + C) and paste in front (Cmd/Ctrl + F).
Go Object > Transform > Reflect. 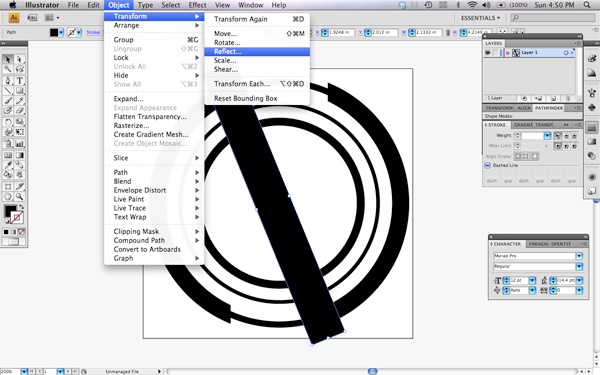 When prompted with the options, brand sure that you lot have the Horizontal option selected.
 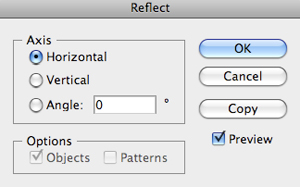 In one case you accept duplicated and reflected the rectangle, y'all volition have an Ten shape, which at this indicate are ii separate rectangles.
 Select both of these shapes and press the Unite control from the Pathfinder Panel, just like nosotros have done earlier on. This will combine both of the rectangles into ane solid shape. Before moving on, select both the X shape and the innermost circle shape and center-marshal them vertically and horizontally.
Step 11: Consummate the Shape
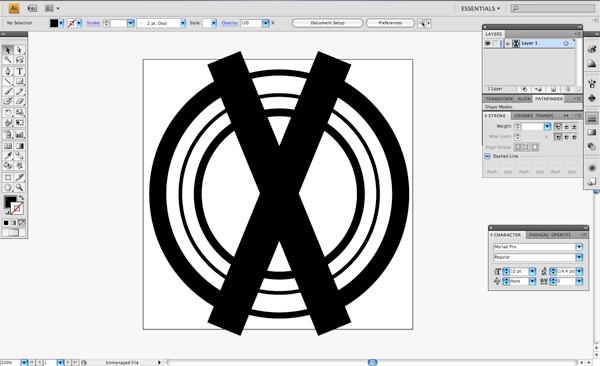
Select the Pen Tool (P) and, with a solid black Fill, brand a few anchor points on the meridian and bottom of the X shape, merely to encompass the exposed circumvolve shape. 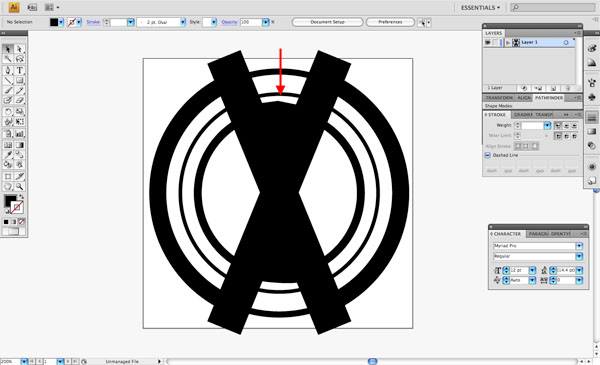 Select both of the 10 shape and the shape yous drew with the Pen Tool, then printing Cmd/Ctrl + Thousand (shortcut for Object > Group) to group them together. We now want to combine these ii shapes with the Ten shape using the Unite command from Pathfinder Panel again.
At present that we have combined the shapes together, we will select that shape, and while holding down the Shift central, we will select the innermost circle. Render to the Pathfinder Panel and one time again use the Minus Front command to subtract this shape. 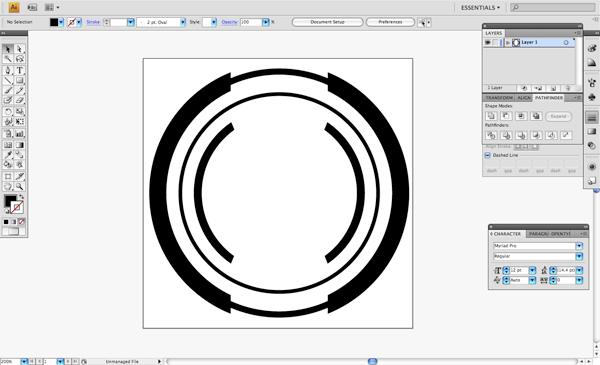
Stride 12: Mama Said Knock Y'all Out!
Next, choose the Ellipse Tool (L) and create yet another smaller black circle shape in the center of our other shapes. Hold the Shift key to constrain the proportions, and in one case yous have created the shape, select all of the objects (Cmd/Ctrl + A) and align them all vertically and horizontally using the Marshal Panel commands.
 Copy this shape and paste it in front end before holding downward the Shift + Alt keys and dragging i of the four corners inwards. Endeavour to lucifer the width of the previous shape as best as you can — simply it doesn't have to be verbal.
Select both of the innermost circles and once once again use Minus Front to subtract the shapes. 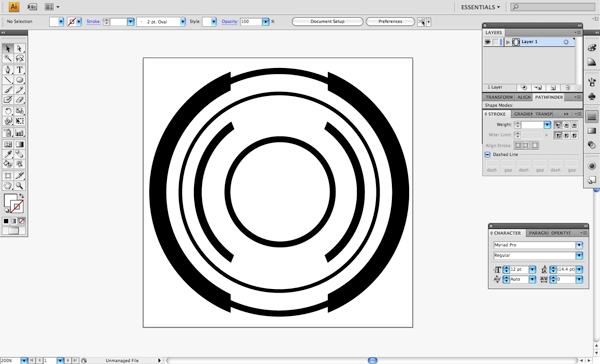 Return to the Rectangle Tool (K) and create a thin vertical rectangle.
Copy this shape (Cmd/Ctrl + C) and paste it in front of the other shape (Cmd/Ctrl + F). Grab the Selection Tool (V) and move the cursor towards one of the iv corners of the newly created black rectangles. Your mouse cursor should change to a curved pointer cursor, which indicates that you tin rotate the shape by moving your mouse left and right.
Concord down Shift and rotate the shape so you lot are substantially creating a big plus (+) shape. By holding down Shift while you rotate, the shape will rotate in 90o increments. Select both of these and combine the shapes using Unite from the Pathfinder Panel.
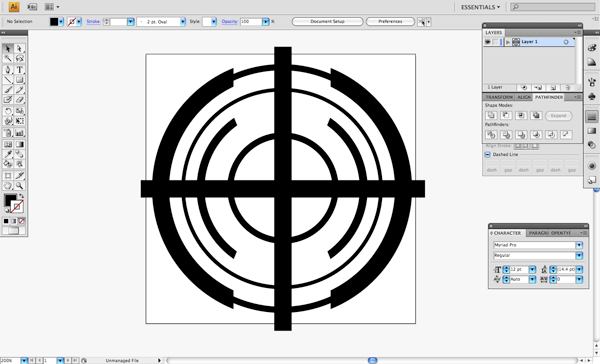 Select the combined shape also as the innermost circumvolve shape below information technology while holding the Shift key. Side by side — equally you may take already guessed — we are going to select the Minus Forepart command from the Pathfinder Panel.
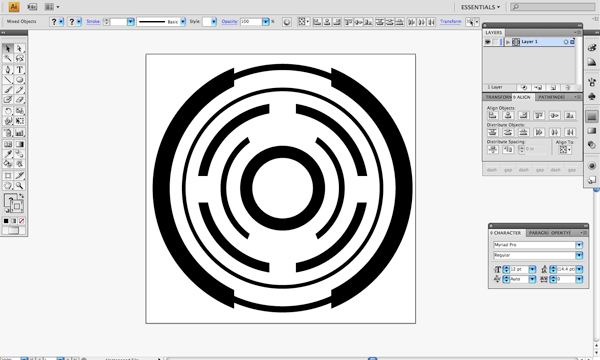
Step 13: Moving Things Effectually
This step is optional, but I would like to move the shape we just fabricated to the outside of the next largest shape. To exercise this, I'm simply going to select the innermost shape and while holding Shift + Alt, I am going to drag the shape outwards from whatsoever 1 of the four corners. Later that, select the other shape that we created before that and drag the shape inwards while holding Shift + Alt, essentially merely doing the opposite in order to swap the ii circular shapes.
Pace 14: More than Circles
With our Ellipse Tool selected, create yet another black circle in the center of all of our shapes. Once you have washed this, select all of our shapes (Cmd/Ctrl + A) and align everything horizontally and vertically using the Align Panel commands. 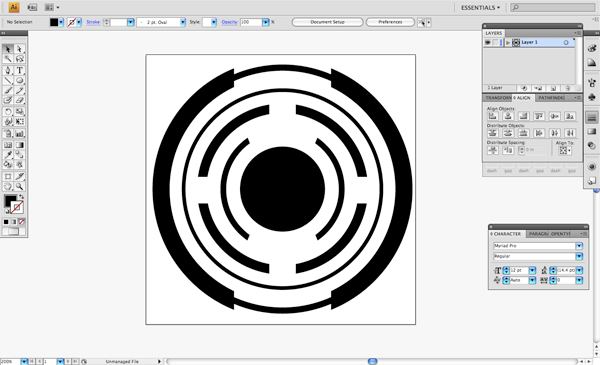
Step 15: Getting Centered
In our concluding step, we will desire to re-create the black circumvolve we have just created and paste information technology in forepart, again using Cmd/Ctrl + F. We want to change this shape to have a solid white fill with no stroke. While holding Shift + Alt, elevate one of the iv corners inwards and so that the white circle will be reduced in size, but centered within the black circle.
 Nosotros will be repeating this step over again by copying the white circle, and pasting in front (Cmd/Ctrl + F). Change the Fill to a solid black fill up and make sure it doesn't have a Stroke. Reduce the object proportionally within the white circle.
Select this innermost black circle, and while property the Shift key, select the white circumvolve but exterior of this shape. Use our favorite command — Minus Front — to knock this black shape out of the white circumvolve. Y'all won't really find any deviation here because both of these shapes are inside of a slightly larger blackness circle, but information technology is still necessary (as you will before long see).
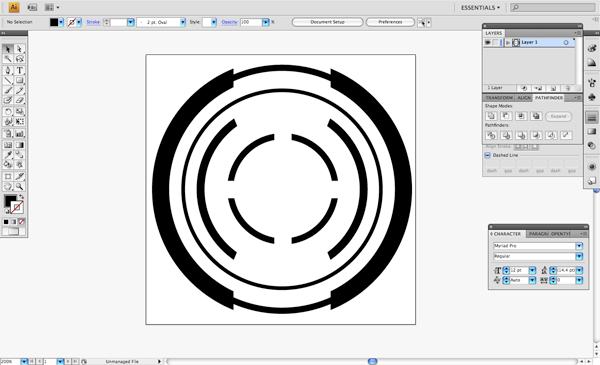
 Select the Rectangle Tool (Thou) and create a thin, vertical rectangle that but intersects the bottom portion of our newly created white shape at the centre of the document.
 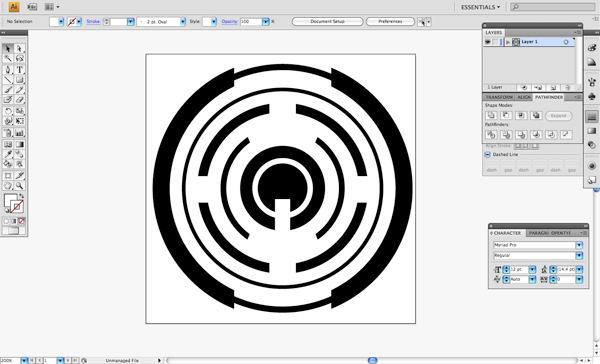 Agree the Shift key and select both the rectangle and the white circle nosotros have just created, and once once again, choose the Minus Front end choice from the Pathfinder Panel. Select this white shape and hold down the Shift key to also select the blackness circle that the white shape is independent in and select the Minus Front option one more than time.
This makes information technology so that the innermost white shape will be knocked out of the black circle rather than but beingness a white shape sitting on pinnacle. 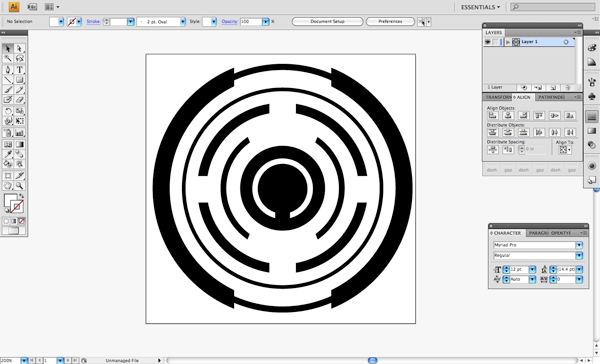
Tutorial Summary
Every bit yous can see, there are quite a few steps involved in creating a geometric design like this, and the results may vary depending on how much or how little complexity you want it to have. You should now be prepared to create a nice variety of shapes using the aforementioned techniques we have covered here and yous can move things around, add to it, or have things away. Y'all tin can use shapes like this equally a blueprint chemical element (encounter the tutorial that uses this shape as a major component), equally an art brush, or export it to other programs like Cinema 4D and Photoshop.
I hope you accept found this tutorial useful and tin use this technique in some of your own artwork to create some interesting compositions. Cheers for post-obit along!
Download Source Files
- circular_fragments_illustrator (ZIP, 0.96 MB)
Source: https://www.webfx.com/blog/web-design/create-a-circular-fragments-vector-shape-in-illustrator/
0 Response to "Draw a Circle Adobe Illustrator"
Post a Comment